Many friends ask about how I organize my meals. First, all of my recipes are typed in a word document. This makes it easy to share with friends and retrieve when needed. I have printed each recipe, put each recipe into a sheet protector and placed into a large 3 ring binder. The binder is categorized into appetizers, desserts, entrees, etc. I started planning my meals a week ahead and then a month ahead. It seemed just as easy for me to do a month's planning. I post this on my refrigerator. I do my grocery shopping on Mondays. We don't always stick to the meal plan exactly. Life happens. But I can say this has cut down on my time standing in the pantry asking myself "What's for dinner?" Click below to download April Menu.
Starting on Sundays, I will share with you Supper recipes for the week. Click below to download recipes for April 3-9.
Live, Laugh, Love and EAT! Enjoy! Holly
Sunday, April 3, 2011
Thursday, September 2, 2010
Name Cookies


For our abc activity today, we made edible names using a sugar cookie recipe and royal icing recipe. As you can see he is the head chef in the kitchen. After cutting out the letters for his name we also did animal shapes.


I bought ABC and animal cookie cutters from Michaels. These have endless possibilities. We use them to count, we cut out animals with beginning sounds that we are working on, classify animals, etc.

We used a cookie dough recipe from a book called Silly Snacks. I got it free one time at a bookstore. You can also use your favorite sugar cookie recipe or buy sugar cookie dough.
Royal Icing
3 egg whites
1/2 t. cream of tartar
1 lb. box confectioners sugar, sifted
Add egg whites and cream of tartar in a large bowl. Beat on medium speed until fluffy. Add 1/2 of sugar and blend. Add remaining sugar and beat another 5 minutes. Put icing into a zip lock bag and outline shapes. You may need to add a little bit of water to remaining icing so it will flood the cookie. You will also need to use a toothpick to swirl it to the edges if needed.
I couldn't resist sharing the picture. As I was cleaning up, I noticed he was very quiet. I looked over and he was hoovering over the cookies on the counter licking the icing. It was still soft. So I gave him the ones he licked and said have a seat and enjoy.

Tuesday, August 31, 2010
Dollar Store
Harrison has made two trips to the Dollar Store as his reward for doing his morning chores. I wanted to come up with an easy way to begin discussing giving, savings, and spending for a 3 year old. He gets a dime for each chore he completes. So I put 10 sticky dots on a sheet of construction paper and laminated it for him to use each week. One pink for giving, one green for savings and 8 yellow for Harrison's spending. On Saturday morning, he empties all of his money from his piggy bank and places a dime on each colored dot. He then puts the dimes in corresponding cups with the same colored sticky dot. Now he needs to know how many toys he can get at the dollar store. He takes his dimes from the cup with the yellow sticky dot (Harrison's spending) and counts out 10 dimes. He knows he can buy 1 toy for 10 dimes.

I wondered how he would react to the news that he needed to give away some and put some in savings. I thought he might throw a fit when he learned he could not have all of his dimes for the dollar store. I decided that I was not going to force him to give and/or save. As with all giving, I want him to give from the right place in his heart, not because I make him. I was pleasantly surprised when he happily put the dimes in his giving cup and savings cup. I have tried to have conversations with him about giving and savings, why daddy goes to work, that God has blessed us and when need to share what He has given to us, etc. I include him when I can when I go to the bank, buy items for our food pantry at church, when we donate gently used items, go grocery shopping, etc. Being intentional during our everyday outings has helped build a foundation for understanding. Plus, I think he was excited to see that even after giving and savings he still got all those dimes on the yellow dots.

It was so sweet watching him shop and pick out any 2 items in the store. He even went up to the cashier and paid. What a great learning experience! Here he is with his two toys he earned for the week.

Wednesday, August 25, 2010
Sticky Letters

Our abc activity today worked on ordering the letters in the alphabet and recognizing which letter was missing. This was an easy one to prep, as I wrote the letters on small sticky notes and he put them on the wall while I wrote each letter. He started out placing them in a straight line but wanted to make it into the letter j. After we had them on the wall we sang our abc song as he pointed to each one. This is good practice because when he gets to l, m, n, o, p he rushes as if one letter lmnop. :)

Of course, he wanted to extend the game by switching roles. However, as soon as I uncovered my eyes he would scream and laugh out the missing letter.

After the game was over he waned to write the letters on the little notes. You can see some of the letters he wrote and put above mine.
I will definitely do this again. I have a feeling they will be on our wall for awhile or all over our house.
Tuesday, August 24, 2010
Pencil Grasp

Harrison has begun writing letters and wrote his name for the first time today. We have been working hard to develop his fine motor skills over the past year. I will post some of our favorite activities later. Today, I put green and yellow dot stickers on a large sheet of paper. He knows green means go and red means stop. He drew a line from one green dot (go) to a pink (we didn't have red) dot (stop). He practiced his horizontal lines and then his vertical lines. All pre-writing skills.
When he was done. He said they were lines like the letter H in his name. He wrote the letter H and then I aked him if he could write the other letters in is name. This is what he did....

Pencil grip can be very hard for young children and may take awhile to master. I taught him to make an L with his pointer and thumb, then grasp the pencil with his finger. He still will revert back to a palm grasp at times. As you can see, his grip is too far down on the crayon. But what a great milestone!

Only introduce this to your little one when you notice them moving away from grasping a writing utensil with their entire hand called a palm grasp. Stay away from forcing a young child from holding a pencil correctly or using worksheets for practicing letters if they are not ready. This can lead to frustration and improper grasp of a pencil. Given the opportunity to strengthen their small muscles through age appropriate activites, most will develop the grasp naturally. Get Ready For School shows the different stages of pencil grasp. Remember all children will develop at different paces.
You Say Tomato and I Say YUMMO!


This is in the spingtime. I think this tomato plant should go right here.

A little bubbles will help. Right daddy?
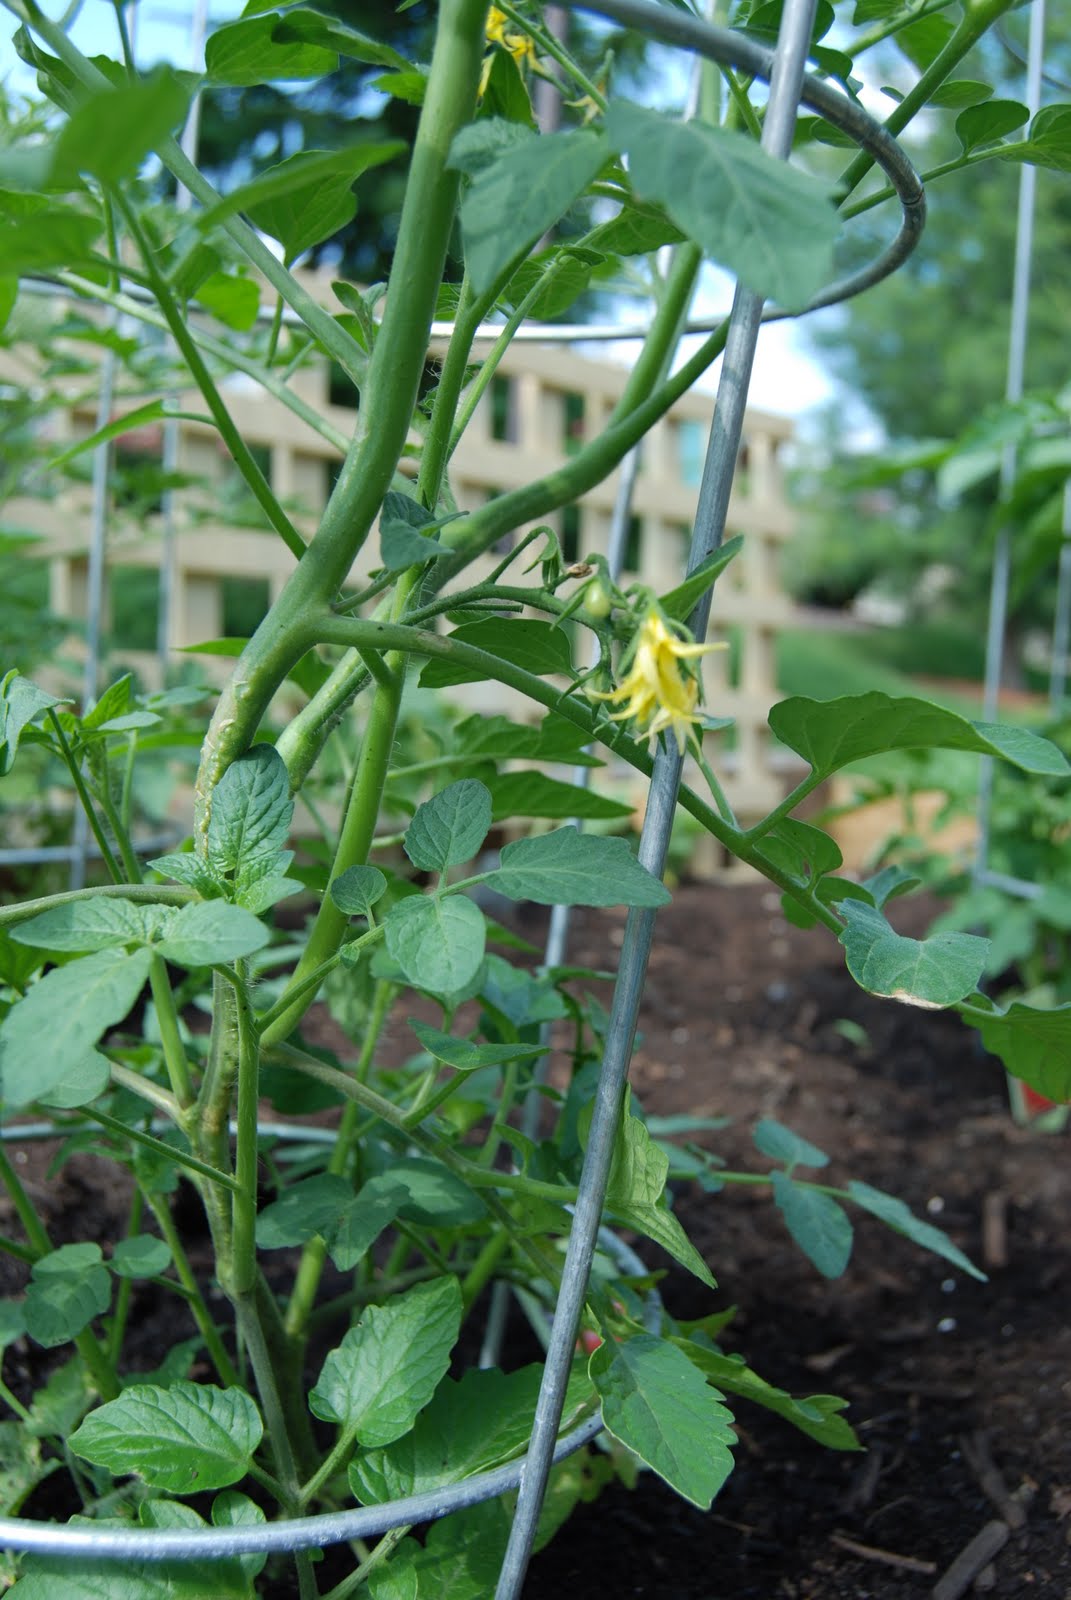

He was so proud of his plants.


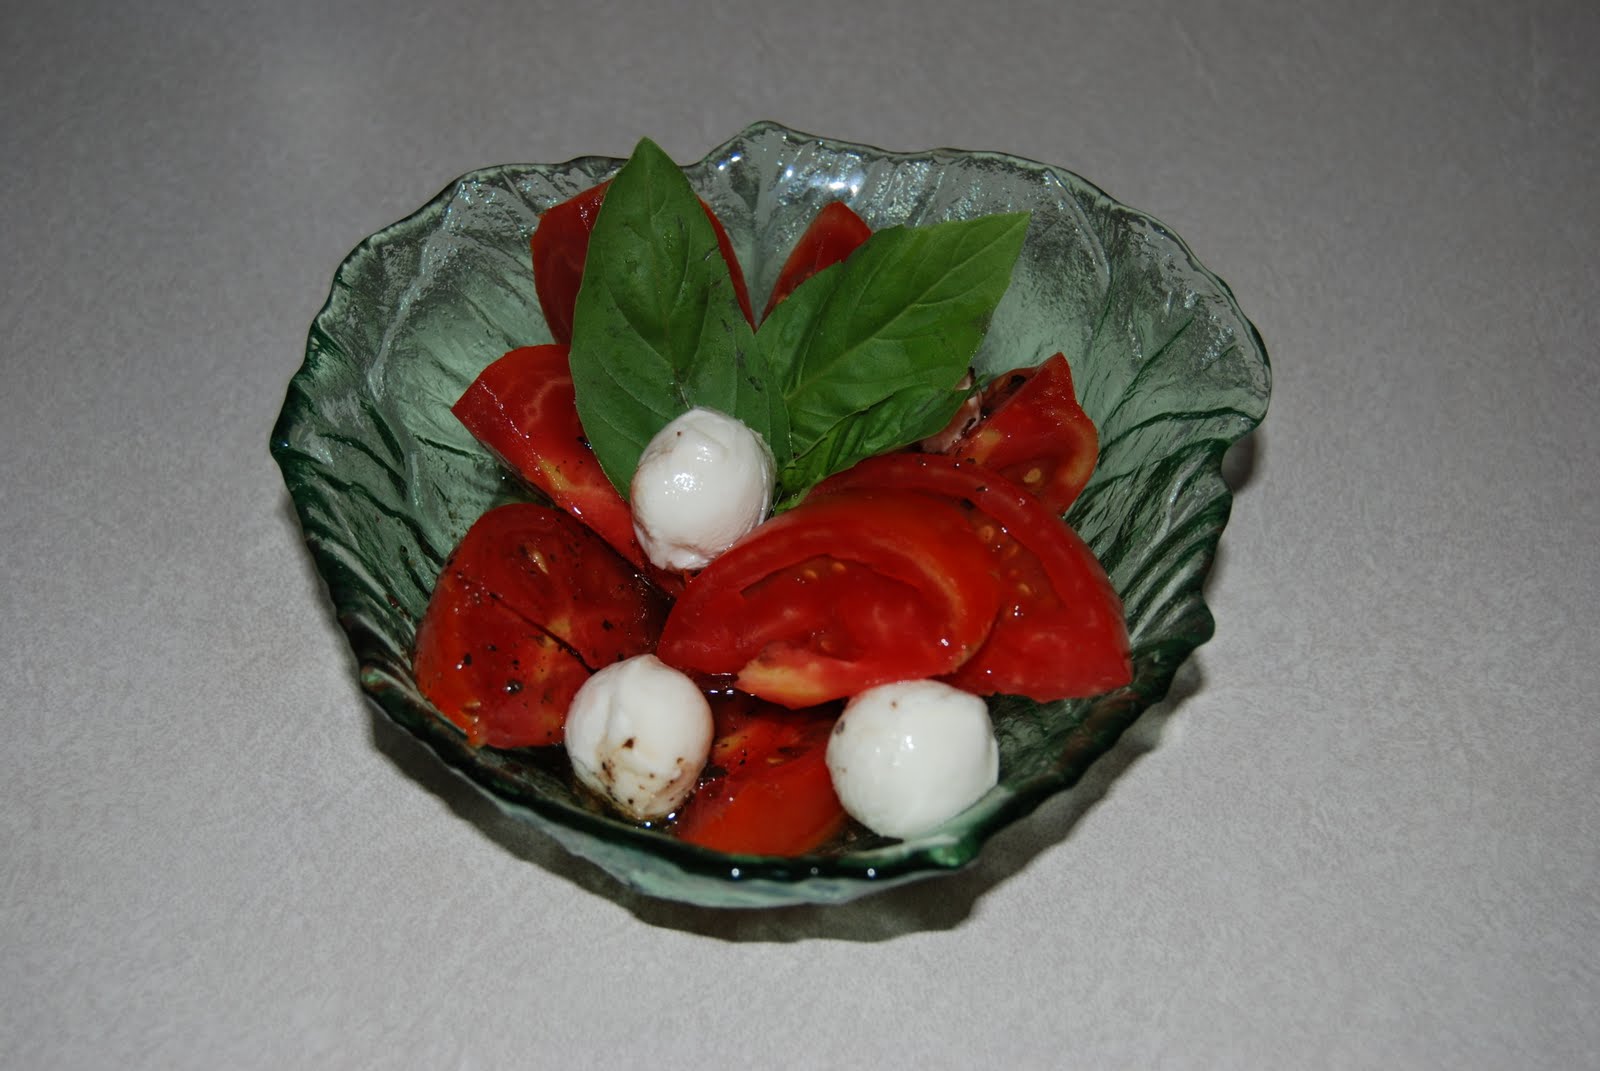
Serves 1
1 large tomato cut into wedges
4-6 fresh mozzarella balls (I buy Bel Gioioso "Cherry Size" from Sam's Club.)
2 T. Paul Newman's Balsamic Vinaigrette
3 Basil Leaves, fresh
Arrange tomato wedges and mozzarella balls in small salad bowl. Drizzle with salad dressing. Top salad with fresh basil leaves. Serve.
Cinnamon Rolls

Rolls
2, ½ oz. pkg. active dry yeast
1 c. warm milk (110-115 degrees), put in microwave for 1 minute
½ c. sugar
1/3 c. margarine melted
1 t. salt
2 eggs
1 t. vanilla
4 c. flour
Filling
(I do not measure the filing. I just spread the butter on. And generously cover it with cinnamon, sugar, an brown sugar. The following measurements are an estimate.)
3/4 c.Butter
2 T.Cinnamon
3/4 c. Sugar
1/4 c. Brown Sugar
***You may also add raisins and nuts to your filling.
Cream Cheese Frosting
1 stick margarine
1 ½ c. powdered sugar
¼ c. cream cheese
½ t. vanilla
1/8 t. salt
Put dry ingredients for rolls: sugar, salt, yeast and flour into a food processor with steel blade. Turn on food processor and add milk, melted margarine, eggs, and vanilla. Allow mixture to form into a soft ball.
Knead dough onto a lightly greased surface for 10 min. I use cooking spray on the counter and my hands to keep it from sticking. Knead until slightly elastic.
Put dough into a large bowl and cover with towel. Allow to rise in a warm place for about an hour or until it has doubled in size. (I put mine outside during warm weather.)
After dough has risen, roll onto a lightly floured surface until 16x21. Add filling on top of dough. Spread dough with butter and sprinkle with sugar and brown sugar. Sprinkle with cinnamon. If you are adding any raisins or nuts do so now.
Starting on the longer end, begin rolling dough into a log. Do not roll too tightly. Pinch together seams. Divide rolls into 12 sections. I take a knife and gently mark the center and then divide each side into 6 sections. I cut the rolls with a serrated bread knife, sawing very gently.
Put rolls into a lightly buttered 13x9 pan. Bake for 15-20 minutes at 350 or until rolls are browned and center rolls are done. Let rolls set for at least 5 min. before serving.
While rolls are baking prepare cream cheese frosting. Cream butter and cream cheese together. Add salt and vanilla, blend together. Add milk and powdered sugar. Beat until creamy.
Top with cream cheese frosting and enjoy!
Tips:
Making the day before:
You can make these rolls the day before. Just follow directions, but do not bake. Cover with saran wrap and put into refrigerator. Remove from refrigerator and bake.
Freezing
These rolls can be frozen for up to 1 month. Cover tightly with saran wrap and then cover with aluminum foil. Remove from freezer and set upon counter for 10-12 hours. Bake until done and add frosting.
Subscribe to:
Comments (Atom)